How to Fix Roof Flashing Issues in Fort Worth: A Step-by-Step Guide

Roof flashing is a critical component of your roofing system, designed to prevent water from seeping into vulnerable areas such as chimneys, skylights, and vents. However, over time, flashing can deteriorate due to weather exposure, leading to leaks and water damage. If you're experiencing roof flashing issues in Fort Worth, TX, it's important to address them quickly to prevent further damage to your home.
In this step-by-step guide, we’ll walk you through the process of identifying and fixing common roof flashing problems, ensuring your roof remains watertight and protected from the elements. 

Identify the Problem

Before you begin repairs, you need to pinpoint where the issue lies. Common signs of flashing damage include:

 · Water stains on walls or ceilings near chimneys, skylights, or vents
 · Visible cracks or rust on the flashing
 · Loose or missing flashing pieces
 · Leaks after heavy rain

Inspect your roof visually from the ground or, if you're comfortable, climb a ladder to examine the flashing around critical areas.

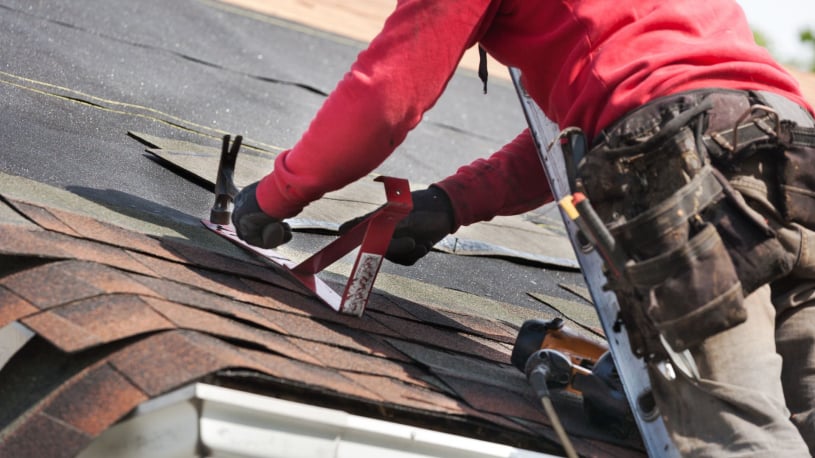
Roof Repair with tools

Gather Your Tools and Materials

To fix flashing issues, you'll need the following tools and materials: ladder, pry bar or putty knife, hammer and roofing nails, roofing cement or sealant, measuring tape, caulking gun, tin snips (for cutting the flashing), and flashing material (aluminum or galvanized steel),
Remove Damaged Flashing

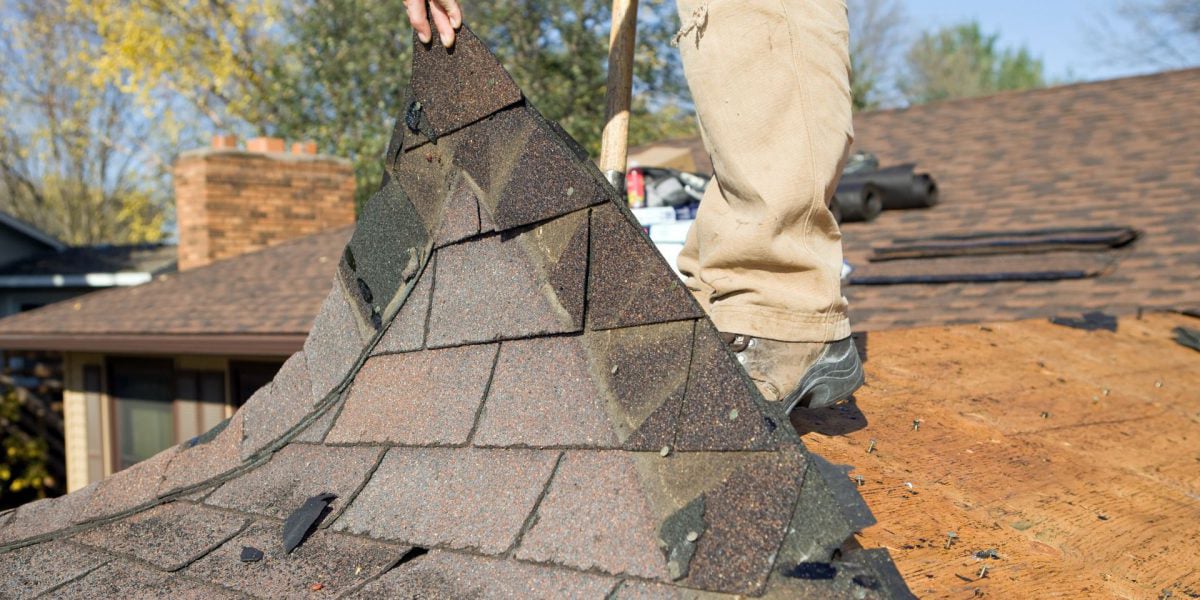
If you notice damaged or loose flashing, carefully remove it using a pry bar or putty knife. Start by gently lifting the shingles around the flashing to avoid damaging them. Once the old flashing is exposed, pull out any nails and lift the flashing off the roof. After removing the damaged flashing, you may need to perform roof repair to ensure a proper seal with the new flashing.

Dispose of the old flashing and clear any debris or dirt from the area to ensure a clean surface for the new material. 

Cut and Install New Flashing

Using your tin snips, cut the new flashing material to the appropriate size. Make sure the flashing overlaps the area by at least 4 inches to provide adequate protection. For areas around chimneys or vents, bend the flashing to fit snugly against the structure.

Once the new flashing is cut, slide it into place underneath the shingles and secure it with roofing nails. Be sure the nails are driven into the roof deck and not the shingles themselves to prevent water infiltration. Proper roof repair at this stage is crucial to ensure the new flashing creates a watertight seal and protects your home from leaks.

Seal the Edges

After the new flashing is securely in place, apply roofing cement or sealant along the edges where the flashing meets the roof. This step is crucial to roof repair as it prevents water from slipping underneath the flashing and causing leaks. Use a caulking gun to apply the sealant evenly, ensuring a watertight barrier.

Mobirise Website Builder

Inspect and Test

Once the flashing repair is complete, inspect the area for any gaps or missed spots. You can also spray water around the flashing with a hose to test for leaks. If you notice any issues, reapply sealant or make adjustments as needed.

Roof
Mobirise Website Builder


Prevent Future Flashing Problems

Proper maintenance can extend the life of your roof flashing and prevent future issues. Here are a few tips:

 · Schedule regular roof inspections, especially after storms
 · Clear debris from gutters and roof valleys to prevent water buildup
 · Monitor areas around chimneys, skylights, and vents for signs of wear

Roof flashing issues can lead to significant water damage if not addressed promptly. By following this step-by-step guide, you can effectively fix flashing problems and safeguard your home from leaks. However, if you're unsure about tackling the repairs yourself or if the damage is extensive, it's always a good idea to call a professional roofing contractor in Fort Worth, TX, for roof repair assistance.

Taking action quickly and maintaining your roof's flashing will ensure long-term protection for your home, keeping it safe and dry through Fort Worth's unpredictable weather. 

Contact Us